We’re all familiar with the many ways artwork can arrive - emails, ftp, website uploads, document sharing apps – and we also know how much time and effort this can take. So how can we use technology to speed up this process and get our jobs into production quicker?
In this article we show you how to do that by automating the process in 3 stages.

1. Automating artwork submission
Your first task in this project is to implement automation middleware such as Enfocus Switch and set it up so that once an order is created, the CSR is automatically sent instructions on where to upload that artwork once it’s received by the customer. The great thing about doing it this way is that the artwork will automatically be attached to the job within the MIS.
Once you’ve got the above up and running to your satisfaction, you just need to change the automation rules so that the artwork upload instructions go straight to the customer instead of the CSR. So now we have the customer doing the work and uploading their artwork into one centralized place. The CSR can also receive a notification once this has happened so they can give the artwork a manual check and reduce the chance of costly errors going unnoticed until further down the workflow.
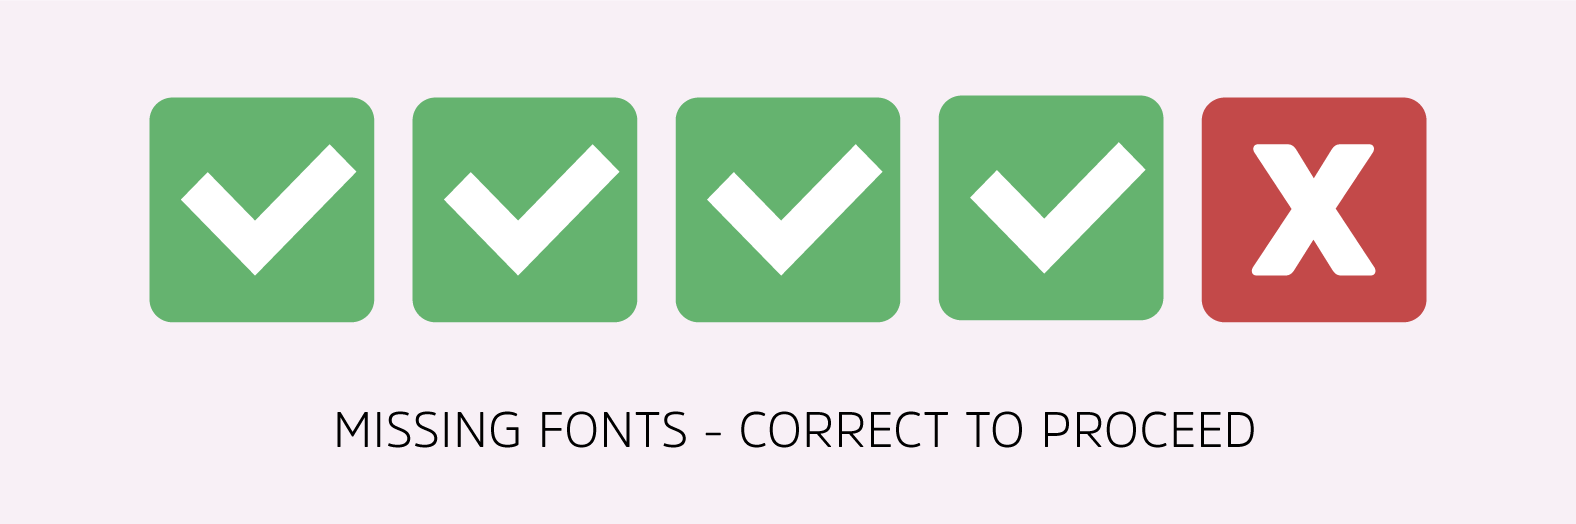
2. Automating artwork preflight checks
The next step is to automate the preflighting of the artwork so that your automation middleware (Switch for example) can carry out a simple set of checks and identify any problems that could stop the job going ahead - missing fonts or low-resolution artwork, for example.
You can then take this one step further by carrying out intelligent preflighting checks in these 3 areas:
- Page geometry (size/shape)
- Page count
- Colours
The important thing here is to catch any artwork errors as early on as possible. If you can send any incorrect artwork back right away, you’re still providing a good customer experience. But if it takes a few days to get checked and returned, you’re at risk of providing a bad customer experience while also reducing the value of that job to your company.
3. Automating artwork approval
The final stage is to automate the approval process using a remote approval system. The majority of prepress workflows have remote approval systems built in, so you probably already have one of these in place, even if you’re not using it.
To implement this part of the project we recommend doing two things. Firstly, roll this out as an internal approval system, so it’s the CSRs that are hitting the approval button (once they’ve spoken to the customer and got that approval of course). Then, when you have that system established and working to your satisfaction, move the responsibility over to the customer so it’s them that logs onto the system, checks the artwork and hits the big green tick.

The second thing we recommend is to make this a company strategy that’s communicated from the top down. Set targets for different stages of the roll-out – 25% of customers to use it in Q1, 50% by Q2 etc. and explain the reasons why you are implementing this process – to deliver an excellent customer experience and faster turnarounds.
A final word
Implementing a fully automated artwork workflow won’t be achieved overnight, but if you tackle these stages one by one, you will eventually achieve the nirvana - your whole customer base will submit, preflight and approve their own artwork.
If you’d like to hear more about the process of this workflow from our very own workflow specialist, you can watch the series here.
Share this

Use the BCG matrix to analyse sectors & products using value-based pricing
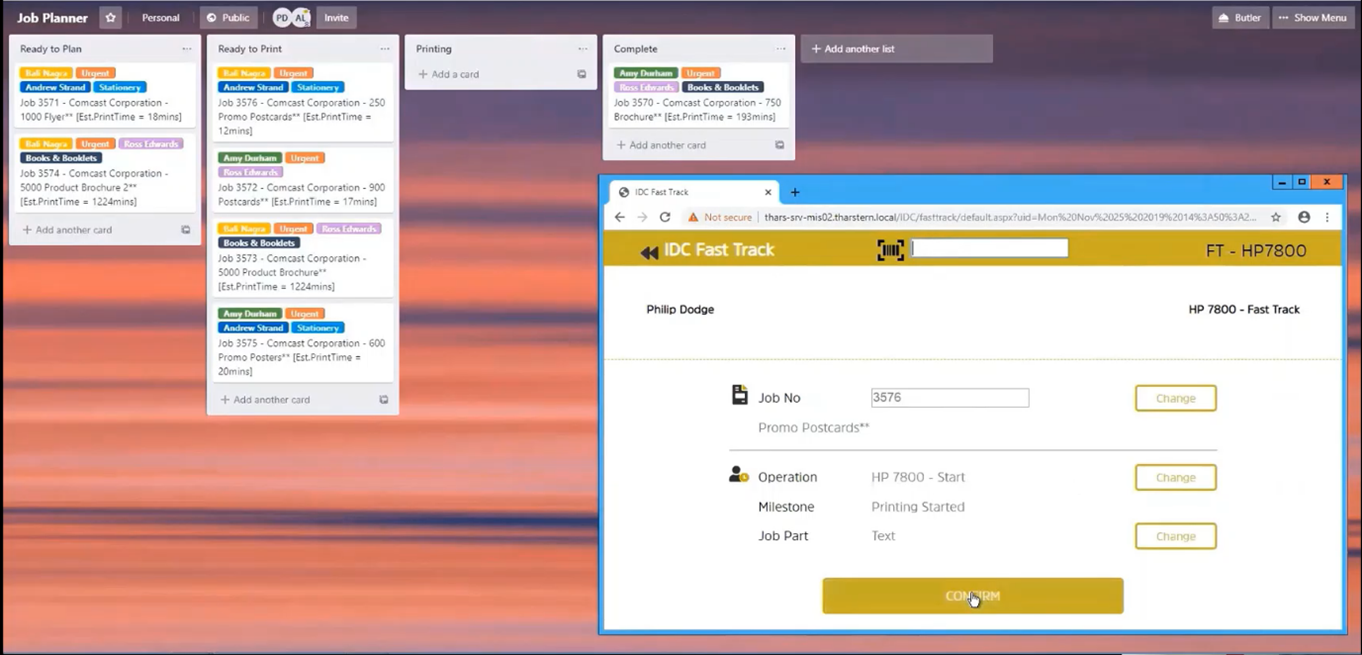
Using Trello to plan and track jobs instead of a scheduling board